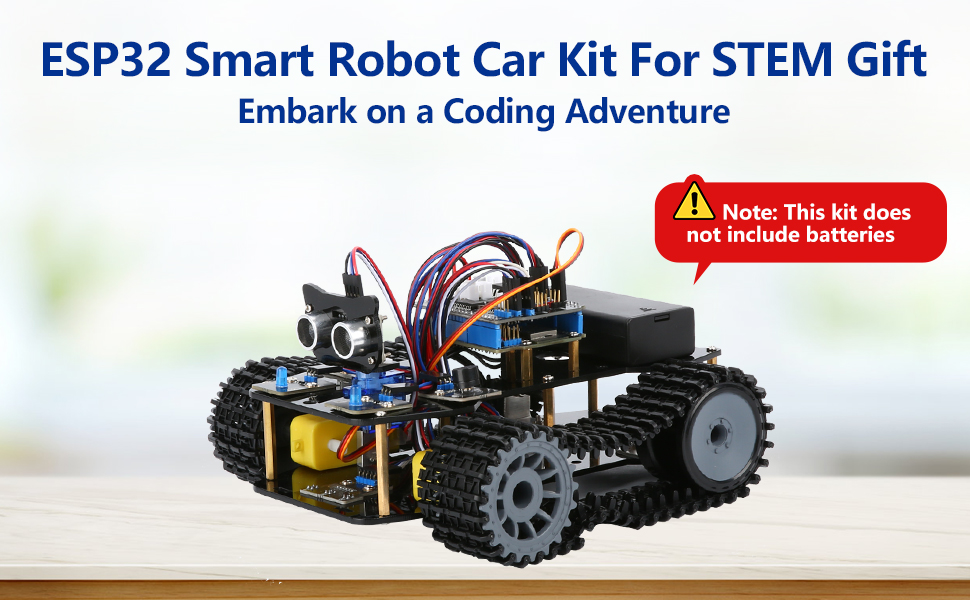
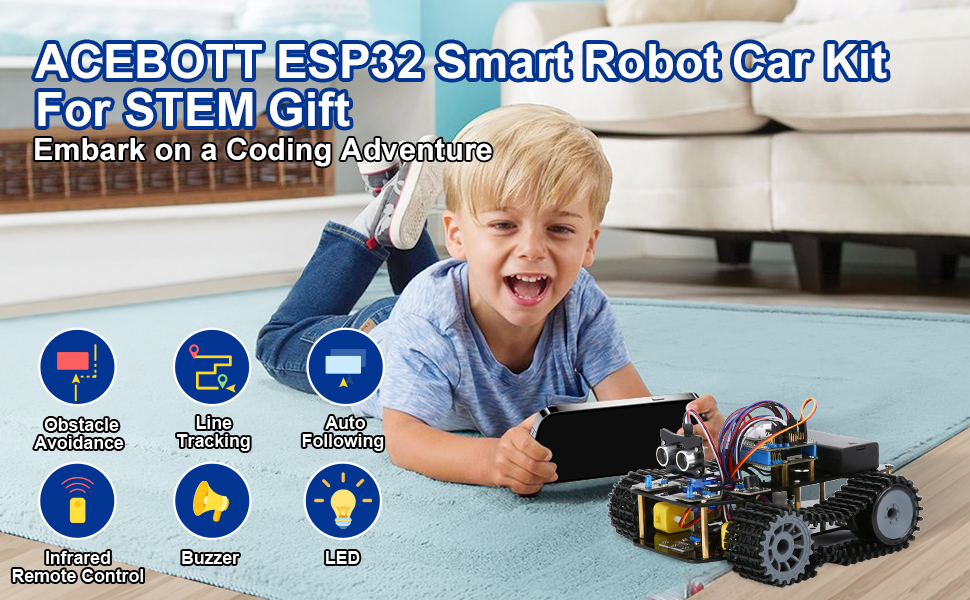
🚀 Build. Code. Conquer. The ultimate STEM tank for future tech leaders!
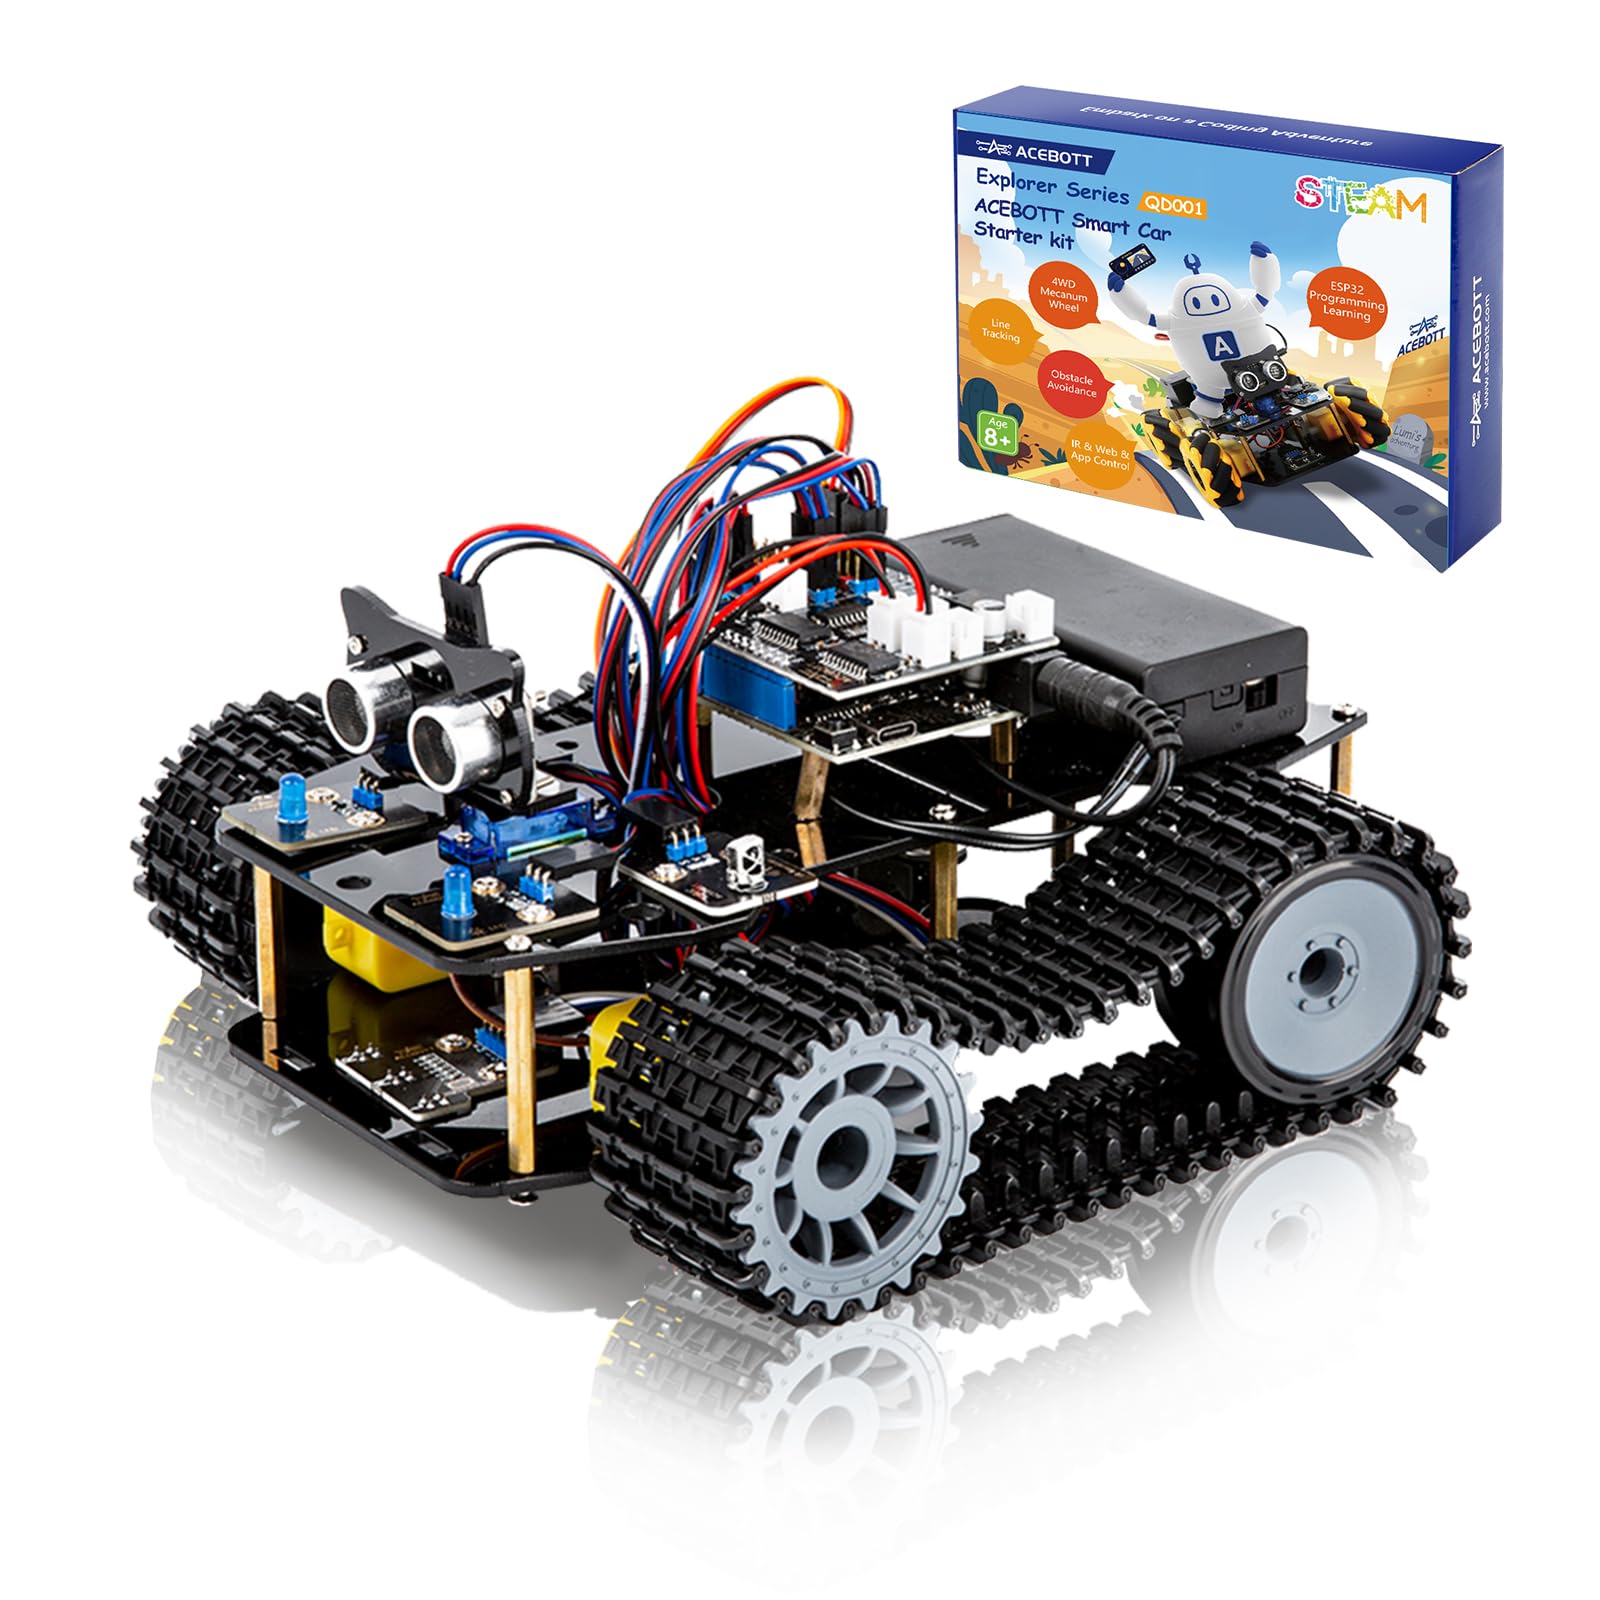
The ACEBOTT Smart Robot Tank Car Kit is a robust STEM educational tool featuring an ESP32 microcontroller, omnidirectional Mecanum wheels, and ultrasonic infrared sensors. Designed for kids and teens aged 8-16, it combines hands-on assembly with Arduino-based programming to develop logical thinking, robotics skills, and creativity. Its durable acrylic chassis and crawler tracks enable smooth navigation across complex terrains, while multi-mode controls and detailed tutorials make it an engaging gateway into robotics and coding.


| ASIN | B0D8PXWNTW |
| Best Sellers Rank | #78,146 in Toys & Games ( See Top 100 in Toys & Games ) #848 in Educational Science Kits |
| Customer Reviews | 3.9 3.9 out of 5 stars (48) |
| Item Weight | 2.55 pounds |
| Item model number | QD034 |
| Manufacturer | ACEBOTT Co., Ltd. |
| Manufacturer recommended age | 8 years and up |
| Product Dimensions | 8.86 x 2.4 x 1.97 inches |
J**.
Excellent Kit
Excellent kit. I wouldn’t say it’s right for under 10 or 12 years old to do independently but it is not overly complex. It’s just tough enough to make you feel like you’ve accomplished something when you’re done. Electronically it’s great. And since it’s Arduino you can take that side of things as far as you want. Two thumbs up from me. Good luck.
I**A
Broken part
The part of the arm was broken , we requested to replace it but didn’t get the reply yet . The main robot was easy to assemble for 8 years old
L**E
Bit intimidating but worth it
I got this for my son who is a bit too young to do on his own and so it fell on me to learn to use this. The assembly was pretty easy for the most part and my son was able to do most of it. The connection of the wiring was a bit tricky but not too bad. The programing and controlling this were the intimidating parts but in the end, it wasn’t bad as I thought it would be. You do need to buy or have two 18650 batteries since it does not come with it. The little remote uses the button CR2032 battery but you don’t need to use the remote since you can control it with a tablet or cell phone. You also need to be able to access the on-line resources. They have a very good set of resources. You need to use a computer to upload the program to the car using the USB cable. To be able to use or control the device, you need upload the applicable program to the device. For example, to get it to connect to your Wi-Fi, you need to “install” the software/program on it. The instructions or tutorial that I found was not straight forward on how to do all the things it can do. Instead, they tell a story and you follow the story and instructions within it to accomplish the different things you need to do to get this programmed and working so that you can control it. It is a great way to get kids engaged and learning. This is not a simple toy to build and play with. It is an educational toy that is used to learn. So, this may not be for most kids. If your child is curious and willing to take the time to learn, this would be great. It is almost like instead of just getting a computer with instructions on how to use it, you are learning to put a computer together, learning to install the OS and software, and then learning on how to use it.
T**O
Nothing Automated Works
Too many Games fail to do remotely as intended. The Wrist will never function as directions show, needs modification. The Line Tracking just moves car and then it takes off in many crazy directions, none are near Line. Will not pick up blocks as Game shows. Arms just do erratic motion. Nothing Automated works but All controls function using App.
K**V
Robotics for Everyone - Young and/or Old
This is a neat kit. It comes with an ESP32 board which is very popular and used in a ton of different projects. You will learn stuff you can use well beyond this robot. The kit comes with detailed instructions and there are very good videos online which will take you through building the vehicle as well as building and adding the robotic arm. Between the instructions and the videos, it should be pretty smooth. It's important to note that this kit does not require you to solder anything! Great for anyone interested in robotics and things like ESP32 or Arduino boards. You will learn a lot from this project that you can apply to others.
D**Y
Es para un regalo de navidad, no sabemos aún que tan bueno es. Aunque el robot no viene en una sola caja, y eso me genera desconfianza. Espero este todo completo al momento de armar.
W**M
It can work, but requires a lot of work
This is a complete kit with instructions that can be make a very fun car. However, it takes a lot of work, and a bit of background in these builds. Because the instructions leave a lot of things out and the kit expects you to know what you are doing before you do it, I can't say it is for the beginner. Once yo uget everything all figured out it ca be a lot of fun and it comes with a lot of options. So I say it is only ok.
T**.
Nice car kit
I didn't time it, but assembly took less than 2 hours even though I had to back up a few steps a couple times (for example after I put the wheels on without paying attention to orientation). I am very mechanically inclined and can handle small parts, so your mileage may vary. The one problem I had was with the ultrasonic sensor. The instructions show the sensor and pinout, but tells you to be careful to wire correctly for whichever sensor is included in your kit, which may be different from the one shown. Well, they tell you this after telling you to mount the sensor so you cannot read the pin labels. Since the sensor was Acebott branded, I figured the pinout would match the instructions. Nope. Sensor didn't work, I had to take it apart to see that I had indeed connected it wrong. It still doesn't work after wiring it correctly, so I purchased a new ultrasonic sensor and now it works fine, so apparently I fried the sensor by wiring it wrong. My advice: BEFORE assembly of the ultrasonic sensor, take a picture of the pinout labels or write them on the back side of the board so you know which pin is which, and if you don't do this, don't be lazy like me, take the sensor off the mount to check the pinout. I'm not taking a star off for this, though I am tempted, because the issue was caused by my failure to follow the directions. Also, the batteries: Batteries are not included, it requires two 18650s and a coin cell for the remote. I have lots of 18650s around, but they are almost all flat top and I couldn't get any of them to work until I finally found a pair of button top 18650s. Those are working great. So if you are buying batteries for this, try to get button top 18650s.
Trustpilot
3 weeks ago
3 weeks ago