


🌡️ Take control of your environment like a pro—because precision never goes out of style.
The Inkbird ITC1000 is a highly accurate, dual-stage digital temperature controller with an easy-to-read ℃/℉ display, capable of managing both heating and cooling outputs. Featuring a reliable alarm system for sensor failure and high temperature, it offers flexible wiring options and user-friendly operation, making it ideal for applications ranging from 3D printing to fermentation and refrigeration. Operating at 110 volts, this compact device delivers professional-grade temperature control at an unbeatable value.


| ASIN | B0152LYY0I |
| Best Sellers Rank | #20,388 in Industrial & Scientific ( See Top 100 in Industrial & Scientific ) #25 in Temperature Controllers |
| Brand | Inkbird |
| Brand Name | Inkbird |
| Color | Grey |
| Customer Reviews | 4.5 out of 5 stars 1,664 Reviews |
| Display Type | LCD or LED |
| Included Components | Temp Control Thermostat |
| Item Dimensions L x W x H | 3.93"L x 3.77"W x 1.49"H |
| Item Type Name | Temp Control Thermostat |
| Manufacturer | LERWAY Tech. |
| Material | Plastic |
| Material Type | Plastic |
| Product Dimensions | 3.93"L x 3.77"W x 1.49"H |
| UPC | 705701562658 |
| Voltage | 110 Volts |
A**R
for the price, I can't praise it enough!
I usually write reviews for things I feel I should share information about. this is one of them. Electronic equipment like this should cost AT LEAST 5x more. I've purchased similar electronics for my research work that do far simpler tasks, yet cost hundreds of dollars. this little guy is just as good in quality and costs far less. Background: i use this to control a mini fridge to effectively create a fermentation chamber for my homebrew wort/beer. You can use it for nearly anything that needs temperature control. Ive even heard of people creating heating chambers using a lightbulb that turns on and off. that is the beauty of this switch, is the flexibility and simplicity of use. I call it a switch because essentially that's all it does. It reads a temperature and switches the circuit on and off depending on your set parameters. I read a lot on forums about wiring diagrams etc. because i was afraid i would wire it wrong. actually it's REALLY easy to wire, you only need the wiring diagram that came with it. Most people who use the STC-1000 on forums have it wired in a FAR more complicated manner than necessary, which, IMO is excessively complicated. If you want to use this as a temperature controller for a fridge like I did, you only need a couple of extra things: extra medium duty extension cord (3 prong), elecrical tape or shrink tube, and/or wire nuts and/or crimp connectors. The extension cord is TECHNICALLY optional because you could cut the fridge cord and wire it inline but you really should leave that cord intact and use a separate one incase you need to rewire later. You don't want to mess with the appliance wire anyway, and you get extra wire that helps you to hook the STC-1000 up properly. trust me, just spend the extra few bucks a get an extension cord from home depot. Also, Ideally you should use a soldering iron to get a good connection, but wire nuts or crimps work just as well. I prefer soldering my connections but your preference is fine. Just don't try to twist and electrical tape it your you're just asking for a fire. Next, to wire it up, you only need to be concerned with two color wires, the black (hot) and white (neutral). If you cut the spare cord, to minimize the soldering or crimp/wire nut work, be sure to not cut the green (ground) wire. Its ok if you do, but you then need to connect the two lose ends again later anyway, wasting crimps/wire nuts. When you cut the black and white wires, be sure to cut an extra 5-6 inches or so of wire out as leads for the next steps. No one mentions this, but what I did is actually put 2 wires into each numbered port, therefore minimizing the number of connections. If you do it right, the only crimped connection you'll need is 1 neutral (white) wire. If you cut the green (ground) wire, you'll need 3 connections.... Here's how I did it: first, put the incoming (outlet/male) side black wire into port 1, then take one loose black wire end and also put that into port 1. Tighten the screw for port 1. Run the other end of the loose black wire that's in port 1 and put it into port 7 (cooling port). Tighten port 7. Take the appliance (female) plug side black wire and put that into port 8 (the other cooling port) and tighten port 8. place the white wire from the outlet/male side into port 2. Take one end of the loose white wire that you cut out of the extension and also put that into port 2. Tighten port 2. Now solder/wire nut/crimp the loose end of the white wire to the female/appliance port side. That's it! The beauty of this is that it doesn't matter if you reverse ports 1/2 (put black into 2 and white into 1) or use neutral (white wire) in ports 7/8 instead of hot (black wire), which is why it isn't labeled as such. This controller is very flexible and allows many ways of wiring. For me, this way was the simplest which is why I used it. Good luck!
R**C
Working great for 3-years now
Nice inexpensive digital thermostat, which was available when I needed it and has served me very well. But I now recommend similar Fahrenheit versions instead, as they are equally functional, and more user friendly (just hit Set then Up/Dn to change temperature). I've gotten three of these now, the first one has been controlling a swamp cooler for over 3-years now, without a single hiccup. Another is installed in my old refrigerator, since ordering a drop-in replacement (mechanical) thermostat from the store was going to cost $80, and that's been working for over 2-years, now. The third has been controlling someone else's swamp cooler for over 2-years now. Programming this thermostat is much more difficult than it should be, and takes a little bit of time to understand, but a quick cheat-sheet is good enough for anyone to figure it out when they need to. Terribly disappointing, though, that you can't just hit the up/down arrows to adjust the temperature, but instead need to go through a convoluted process that needs two-hands. Same goes for converting temperatures to/from Celsius all the time. This thermostat fits nicely into a standard 4-inch square, blue PVC, 2-Gang Quick Connect Outlet Box with a matching "blank cover". I surface-mounted it with just two screws near my swamp cooler controls. I cut out most of one side to fit this thermostat, and drilled a couple holes for wires. It's a bigger job than a mechanical thermostat, as you need to find which wires are hot and neutral for power, tap into and run twice as many wires. But it's well-worth the effort. Mechanical thermostats aren't terribly accurate, have a tendency to get stuck from time to time, and don't let you adjust hysteresis or other settings. This one has been super-reliable, offering very fine-grained control, and extremely accurate temperature control, keeping me much more comfortable, while saving lots of money, and also offering much more peace of mind. My refrigerator was a bit of a rush job, but proved fairly easy to modify to use with this thermostat in under 3 hours time with a bit of wire crimping and plastic work. Power was available nearby from the light switch, and there was enough room on the face-plate that it was only a matter of cutting out some plastic. The temperature probe is long enough to place anywhere desired, and picks up temperature changes quickly. While the 2-3 watts it consumes and heats-up the interior of the refrigerator with is less than ideal, it's a fraction as much as the hot light bulbs inside, and lost in the noise of opening the doors a few minutes every day. The ease of mounting inside the fridge (rather than drilling holes) is well worth the very minor heat output.
G**E
Great little controller
I'm using two of these controllers in series to control a fresh air ventilation system for my wine cellar. Where I live in the San Francisco Bay, it gets cool most nights, so I use one controller (Outside temperature) to turn on a duct fan which brings in outdoor air, but I only enable that fan if the internal cellar temperature is at or above a set temperature. The system is working incredible well. They read out in Centigrade versus Fahrenheit, which is no big deal since most of the rest of the world outside of the US is Centigrade and working well. I always remember that 15 degrees Centigrade is 59 degrees Fahrenheit. Pilots and wine cellar afficinados will find this number handy. I had read a number of reviews prior to purchasing these controllers and it seems that some folks have some issues figuring out the controllers. I didn't have any problems, but I'm also an EE by training. Basically these controllers are very flexible in their application, which makes them seem more complicated than they really are, but they are really simple. First, keep in mind that the units themselves need power, so the power terminals (1&2) supply power to the unit. They have nothing to do with the relay contacts.Terminals 3&4 are for a temperature sensor (a thermistor). You can add wire to the temperature probe since the thermistor itself is a much higher resistance than the wire. I used 20 feel of 16 AWG exterior lighting wire to extend the temperature sensor to the outside of my house and still didn't need to do any calibration. Terminals 5&6 are used to control a heating element. If you are using this device only for a cooling application, these terminals won't be used. Terminals 7&8 control a cooling element. If you are using this only for a heating application, these will be left open. The relay contacts should be used to switch the "hot" wire to the element you are controlling (in US AC, this is the black wire). The unit could be used to control both a heating and cooling element if you are trying to maintain a constant temperature. Keep in mind that there are accuracy tolerances in every device, especially the temperature probes, this one needs to set some "hysteresis" in the system to avoid oscillation between on and off states. This would be most important when using both a heating and cooling element. This is designed into the unit with the "difference" function. One reviewer indicated that he was having a problem wiring to the terminals. I had no problems, but can recommend that you remove the terminal guard with the single screw first. Then prior to inserting a wire into the terminal itself, make sure that you first open the terminal screw. I was able to use both stranded 16 AWG wire and solid 14 AWG wire with no problem. All in all, I'm very happy with these little controllers. Yes, it's true that the translation between Chinese to English isn't always the best in the directions, but we live in an international world and these devices come from China. I thought it was pretty clear after reading through a couple of times. Just keep in mind that the temperatures which the relays activate are a function of the set temperature AND the Difference.
A**R
Bad Instructions
Relays click, but neither the heating or cooling terminals energize. I tested with a multimeter to be sure. There is visible warping in the placement of the PCB within the unit. Looks to be poorly manufactured. The ratings are very high for this item so I can only presume that I obtained a single defective unit. Unfortunately, the refund process requires me to purchase a second in order to obtain the item faster. And being that I need the item ASAP, I'm forced to pay for Saturday delivery, which is an extra $20 more than what I paid originally. boo. ---------- I originally wrote the above with a 3 star review. I've since received the replacement unit (at extra cost to myself). The PCB within the unit was also skew. It looks to me like when it was inserted into the case it didn't make it into the channel properly. I found when pushing down on the screw terminals that the PCB popped into the channel and then sat flat within the unit. So I received two with the same issue on that. However, that appears to be mostly cosmetic and manufacturing-related. It did not affect the use of the unit itself. After I got the second unit hooked up and tested it, it seemed to have the same problem. I kept thinking to myself that what are the odds that I received two defective units and kept staring at the diagram on top of the unit. That's when it dawned on me that the unit is not designed to provide neutral and hot wires to the heating and cooling terminals. The intention is to take just one side of a plug and wire it through the relay. So what I did was take the neutral side of the outlet I was hooking up and ran it from the source wire, to the left side of the heating terminal on the unit. then I ran another cable from the left side of the heating terminal to the neutral of the outlet. The hot wire I attached to the outlet directly from the source, bypassing the thermostat unit. This works perfectly! When testing this unit's relays and functionality.. You need to use a continuity setting on a multimeter. I originally was looking for AC power from the left & right heating terminals. This is really a mistake on my own part. But I do partly blame bad instructions for this as if there were more diagrams or even just better wording, I likely would have avoided this problem and found that the original unit I received worked just fine. So I'm bumping the rating up to 4-star. I would give it a 5-star if it had better instructions. The unit is very small and works very effectively just as advertised. It has sensitivity settings accurate to the .1 degree that allows you to define how many degrees above or below your desired temperature before it triggers flipping between heating and cooling. The cooling setting has a condensator delay. I assume this is for an air conditioner, although I admit I don't really see the point of that or have a need for it. For the money, this is the best unit out there. The next closest unit comparable is over $100.
F**S
NIce, requires only basic wiring skills
I was bored, so I bought two worm factories Worm Factory 360 WF360B Worm Composter, Black . Wanted to see how they worked. When cold weather came - I brought the worm factories inside. I brought the worms inside because when the cold comes - the worms at best - stop composting - and at worst - die and now you have rotted food and have to start over. The fruit fries got pretty bad inside the house. Only my dog enjoyed chasing the fruit flies. So I needed a way to insulate and heat the worm factories outside. I went down to my local big box hardware store and bought a deck box big enough to hold the worm factories. Most temperature controllers are $200 so I saved $180 by buying this Elitech controller. I can afford a $100 deck box. I bought two "clip on light bulb holders" and two Brooder Heat Lamps. I also bought an aquarium reptile temperature monitor Zoo Med Digital Terrarium Thermometer to double check the Elitech controller. Wiring up the Elitech device was easy and straight forward. Power line (with regular two prong plug) coming in. I would recommend getting an in line fuse holder. Also need two wire jumpers to jump the main power to the switched power line. For the wire jumpers just cut two pieces of wire and strip the ends. Then I cut the plug ends off the "clip on light bulb holders" to wire them straight in. If I wanted shorter cables I could have cut one of the light bulb holder cables in half and used that cable for my main power coming in. Then it was a matter of powering the unit up, setting the temperature, it immediately switched into heating mode, and turned on the heat lamps. When it reached the set point, turned the heat lamps off. Exactly what I needed. The Elitech unit works in degrees Celcius (not Farenheit). That is the biggest drawback. I got a sticker and wrote down 50 deg F = 10 deg C, 60 deg F = 15.5 deg C. Good news is the reptile temperature monitor works in both C and F. So you can use it to check your conversions. But for the money you saved - this Elitech is the best bargin on Amazon. The Aquarium temperature monitor sits outside the deck box - temperature sensor cable going inside the box. So I can monitor the temperature inside the box without having to open it (which would change the temperature). The only other negative thing I can think of is - the Elitech and Aquarium temp monitor differ by two degrees. I can adjust the Elitech - but is the Elitec wrong or is the Aquarium temp monitor wrong? The worms have not noticed - and can't read the temp displays - so I don't plan to tell them.
J**E
Own Six Now...Probably Will Need More!
I now own six of these to maintain temperatures in various applications, like brewing, cheese making and even indoor gardening. I have found them to be inexpensive, reliable and provide an incredible value compared to other commercial solutions. The devices provide precision temperature control turning a heat source or cooling source on or off to maintain a specific temperature. It can be used with virtually any 110V device that draws less than 10 amps of power. You probably do need to be aware, if you're not all ready, that this unit requires custom wiring and potentially fitting for your particular application...it is not a "ready to go" device. That said, the circuitry required to get it going is rather simple overall. The instructions provide the detail needed for someone who's familiar with relay operations (like myself), but if you're not into electronics, you might need to hunt for the various instructions you can find online. Once you figure it out, though, you'll be able to build a nice temperature controller for a fraction of the price otherwise. I definitely recommend installing a fuse as this is an important component of any electrical device...especially because the applications we typically use them in involve liquids. The units that I've ordered (via City Digital) were not compatible with the STC-1000+ firmware that's out there, but that hardly affects the operation overall. It does have the programming pins, so maybe it would work, but it's v1.1 hardware and STC-1000+ is built for v1.0 hardware. I haven't tried this, but would be interested to see if it works or could be made to work. Maybe someday...will provide an update if I go there. It's true that the unit will only support Celsius display. As an American, the Fahrenheit system is firmly implanted into my brain, but it's actually been kind of nice getting familiar with Celsius on a more regular basis. (I don't struggle with mental conversions any longer since I reference my C-F/F-C chart quite often!) Also, these are only good to 10 amps, so you need to have a good idea of your electrical load and whether it exceeds that. For me, using space heaters, fans, fermwraps and freezers have worked without incident, although I have checked the electrical load on all of the devices I've connected to it. If you're looking for an inexpensive temp control solution and you're willing to put a bit of effort into it to save some money, these units will be right up your alley!
B**N
Great STC-1000 Type Controller
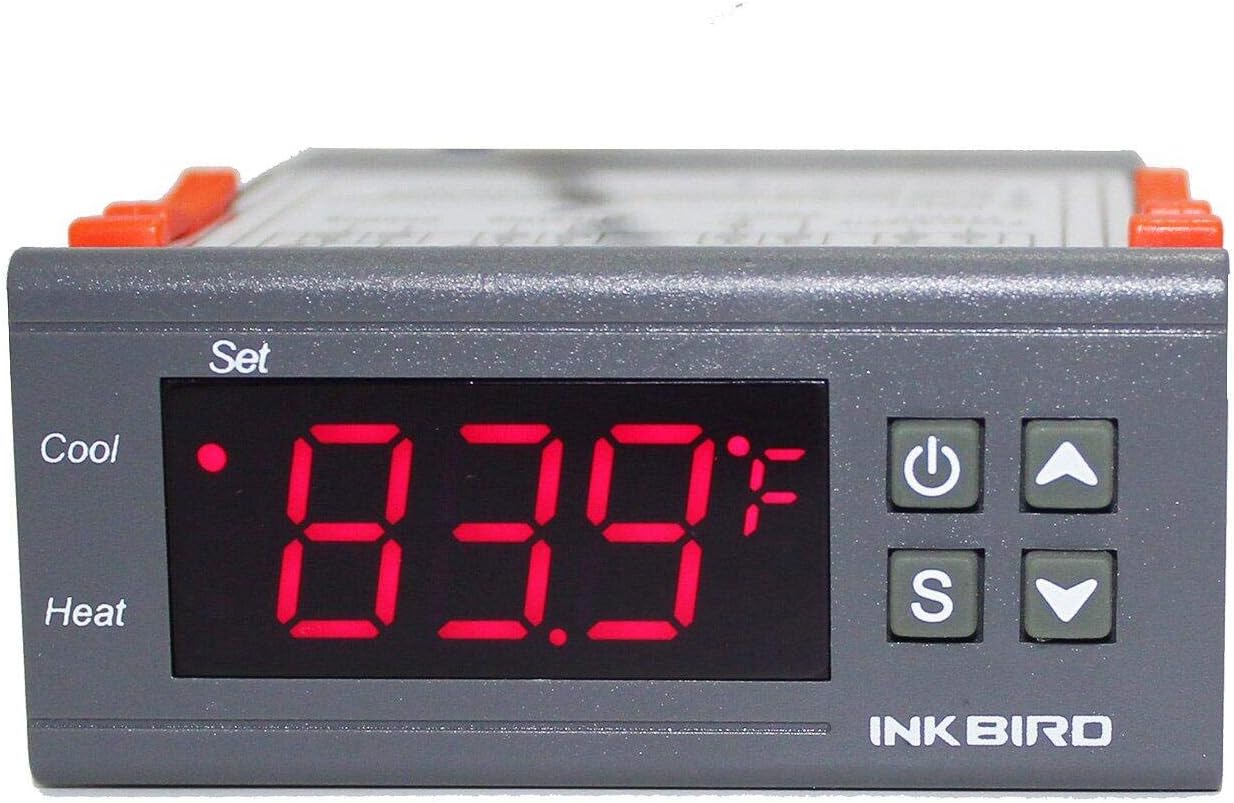
Full Disclosure - I was offered a discount on this product in exchange for an honest review. I purchased a Inkbird All-Purpose Digital Temperature Controller Fahrenheit &Centigrade Thermostat w Sensor 2...
F**O
Work fine nice product
Working very fine i use to replace an old mechanic thermostat. easy to replace
Trustpilot
1 month ago
3 weeks ago