


Buy anything from 5,000+ international stores. One checkout price. No surprise fees. Join 2M+ shoppers on Desertcart.
Desertcart purchases this item on your behalf and handles shipping, customs, and support to Italy.
๐ก Upgrade your space in minutes with marble magic!
practicalWs Peel and Stick Marble Wallpaper offers a premium, self-adhesive vinyl solution measuring 15.7'' by 472.4'' that mimics real marble with a glossy finish. Made from durable, stain-resistant PVC, itโs easy to apply, remove, and cleanโperfect for quick, stylish renovations on cabinets, countertops, and walls without professional help.


| ASIN | B0CQXGNJ3R |
| Additional Features | Easy to Cut, Removable, Textured, easy to apply |
| Best Sellers Rank | #493 in Tools & Home Improvement ( See Top 100 in Tools & Home Improvement ) #1 in Wallpaper |
| Brand | practicalWs |
| Brand Name | practicalWs |
| Color | Gray/White |
| Coverage | 51.6 Square Feet |
| Customer Reviews | 4.1 out of 5 stars 53,216 Reviews |
| Included Components | wallpaper |
| Installation Type | Self-Adhesive |
| Is Stain Resistant | Yes |
| Item Dimensions L x W | 472.4"L x 15.7"W |
| Item Type Name | wallpaper |
| Item Weight | 0.2 Pounds |
| Manufacturer | practicalWs |
| Manufacturer Part Number | 15.7"ร472.4" |
| Manufacturer Warranty Description | Wipe with Damp Cloth |
| Material | Polyvinyl Chloride |
| Material Type | Polyvinyl Chloride |
| Model Number | wallpaper |
| Number of Items | 1 |
| Number of Packs | 1 |
| Pattern | marble |
| Pattern Match | Straight Match |
| Product Dimensions | 472.4"L x 15.7"W |
| Room Type | Bathroom |
| Style | marble |
| Style Name | marble |
| Theme | Marble |
| Unit Count | 1.0 Count |
V**O
Best Adhesive Paper
This paper it is a superior quality compared to the ones that you buy at regular stores this is the perfect roll of paper for the walls and specially furniture I redid the top of my TV stand and it's amazing it looks brand new it looks like it was brought that way I would definitely buy again if I will have to very very happy with it and very good quality I recommend it 1,000% for any project that you have in mind
A**R
Easy kitchen solution!
I ordered this about two years ago to put over my new apartmentโs ruby red stone countertops, and finally took it off today before we move. This was the perfect solution for me! Putting it on wasnโt too bad. After I got the hang of it, it went on super smoothly (I would suggest practicing first, and having a credit card or something flat nearby to help smooth it onto your surface). If any bubbles get stuck in there, just stick a pin in and squeeze the air out - I did this plenty of times and never noticed the pinholes afterwards! There are also plenty of YouTube video tutorials out there. The contact paper held up wonderfully over 2 years - including around the sink and next to the heat of the stove. It didnโt stick very well to the unfinished underside of the stone countertop, but that wasnโt really noticeable. It wiped up beautifully and never stained from food that fell on it. I wasnโt using any utensils directly on the paper, but I wouldnโt suggest skipping a cutting board as that might damage it. After 2 years, I was nervous about taking it off, but it was such a breeze! It did require some strength to pull it up because it was really stuck on those countertops, but it peeled off beautifully (see video)! It only left small lines of sticky residue where I paused during the peeling process (just like on a roll of tape), and the stickiness came right off with a soapy sponge and a bit of scrubbing. I would absolutely use this contact paper again if I get another ugly countertop!
B**A
Modern
It looks very nice ! I still need to order more to cover up the spaces Iโm missing . It gives my kitchen a different look and more modern look. As you can see the second picture thatโs the color it was before . The only thing is order two or more if youโre going to use a lot because it has a little bit and ask for help because it can be a little tricky if you donโt have the right measurements or tools. Stickiness: very good so be careful when putting it on because it can rip if you try taking it off. Color: Nice Functionality: very good . Iโm loving it so far especially since I didnโt have money to get someone to remodel it . Ease of installation: Somewhat easy . Somewhat hard. Well if you donโt have the time and patience lol.
Z**Z
"Stylish Marble Look, Great Quality โ Returned Only Due to Size"
I ordered this marble contact paper to give a quick and affordable upgrade to a surface in my home. The design is actually really pretty โ the white and grey veining looks modern and elegant, and from a distance it gives that real marble vibe. The material feels decent and has a nice glossy finish. Itโs easy to work with as long as your surface is clean and smooth. I ended up returning it, but only because I ordered the wrong size for my space ๐ That was totally my measuring mistake, not a product issue. So definitely double-check your measurements before ordering! If youโre looking for a budget-friendly way to refresh countertops or furniture, this is a solid option.
T**Z
Looks great, but difficult to work with.
It looks beautiful and realistic, definitely gives my counters an upgraded look at a fraction of the cost. That being said, it is by far the hardest material I have worked with. It bubbles so easily, and you can't just smooth them out. It is very adhesive so trying to lift and restick is a huge pain, it creases and you are left wasting a lot to re-do it. It may go on smoothly but then hours later you see it has new bubbles and isn't fitting tight over edges of the counter. I even unrolled the paper and layed it flat with weight prior to applying and even fresh off the roll it had creases that you can't fix. I bought this because it had great reviews, but I see a lot of the issues I'm having others have had them too. This process takes lots of time, not something you can just bang out. It looks good from a distance, but up close you can definitely see every blemish that occurs despite my best efforts. Gave it 3 stars for the overall look, but 1 star for the ease of application.
N**M
So awesome!!! Installation tips here! :)
I purchased this for the sit to stand desk that I recently got to dress it up a bit and couldn't be happier with how it turned out! The contact paper is thick and great quality. It does not easily tear and easy to install! Adhesion is amazing! Easy peel yet, would stick again with no problem! Glossy finish and seemless look! INSTALLATION TIPS: PLAN BEFORE YOU STICK. Cut your materials and lay it how you want it first and give enough room for edges. CLEAN YOUR AREA. Wipe with a cleaner or whatever you wanna use but wipe it dry with a microfiber cloth so you don't have small particles laying around as this will leave bubbles. START IN THE BACK! So you can get a feel for how to install it. How you want your corners folded etc. STAY CALM & BE PATIENT. Things can get overwhelming easily specially if youre working on a bigger space. Keep things neat and apply small sections only to avoid wrinkles or bubbles. ROLL IT! Roll the piece that you're going to use the other way so you'll have better control while applying. Roll carefully so you dont create creases and folds. This will appear on your desk and hard to smooth out. PEEL IT. Peel small sections only! I peel abt 2 inches at a time. I carefully apply the adhesive part on the corner of my desk allowing extra inchb to be folded underneath. WIPE IT. Use microfiber cloth to wipe as you apply. Wipe with pressure but carefully. I wipe as I go meaning I've got pressure on my left hand while wiping on up and down motion to smooth out any bubbles while peeling the back paper with my right hand. ROLL IT AGAIN. Roll back paper (the one on your right hand) as you go so you have less clutter. CUT IT. Cut a small piece to patch the corners of your desk. This will conceal all the folds you have there. See pics for visuals. Hope this helps! :)
T**A
Awesome ! Tips and secret weapon for using peel and stick!
I purchased this item to cover up some super old peel and stick from probably the '70s! That was in desperate need of updating in my apartment. I'm sure when we move out we probably won't even have to remove it because it definitely makes it look a lot better and now matches our countertops. It's easy to work with and nice thick material. Even when you accidentally crease it, it comes out pretty good! I've dealt with a lot of peel and stick before and through trial and error. First, you'll definitely want to clean the surface! I use a Clorox wipe and then dry it with a microfiber towel. Make sure you remove any particles that would hinder the adhesion or create lumps. You can also clean it with the rapid tac! Secondly, I would definitely recommend measuring and cutting before just rolling it out and trying to apply it before you peel that back off. Make sure it fits in the area you want it to with the backing still on it! Then I have a secret weapon! It's called rapid tac ! I originally got it trying to self-install tinted windows and have to use it multiple times since then it makes it so much easier to install any peel and stick. You just spray a little with a paper towel slightly to spread it. And not apply so much. This makes it so that you can move the peel and stick around and make sure you get it perfectly rather than pulling and applying and pulling and applying and possibly damaging the peel and stick! Once you've gotten it into position, you can use heavy objects such as water bottles to hold it in place to stop it from rolling back up and you would want a squeegee to remove any air bubbles and application fluid. I find that there's hardly any air bubbles and mostly it's just application fluid. When she's squeegee it out. It still sticks just as good! And it makes removing the air bubbles way easier and does Not leave any creases or bubbles. It just makes it so much easier You'll then want to paper towel up any of the liquid that comes off the sides Then admire your work !
R**T
Light grey wallpaper
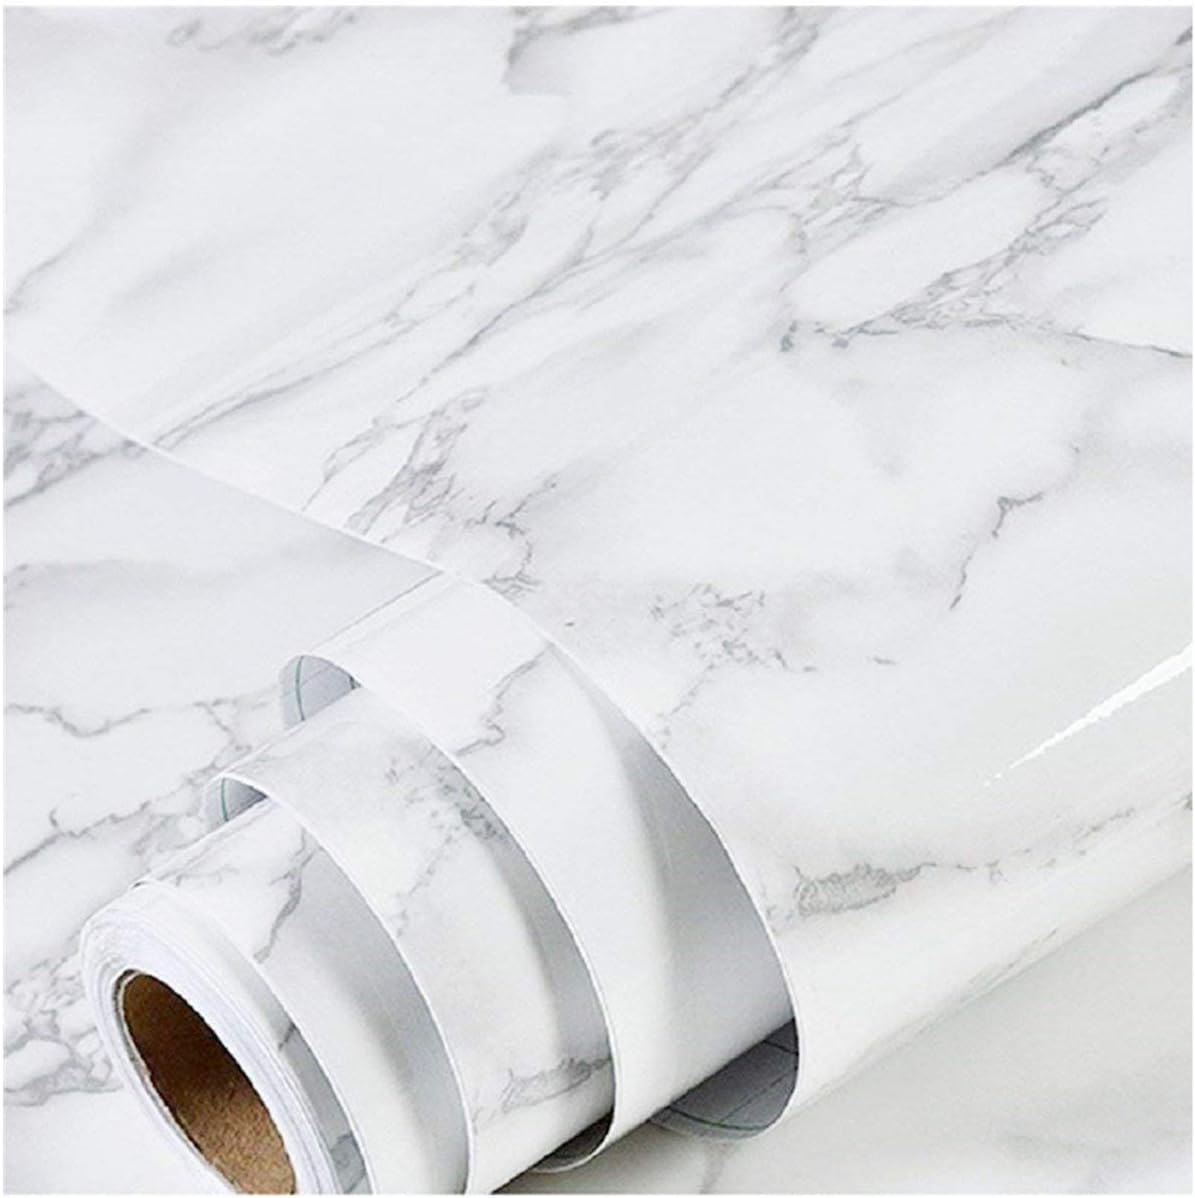
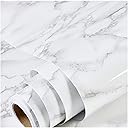
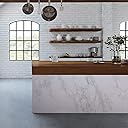
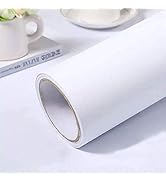
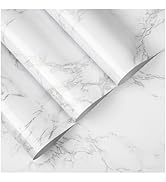
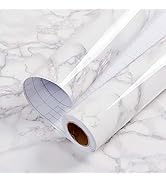
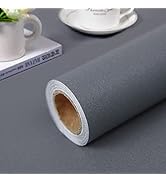
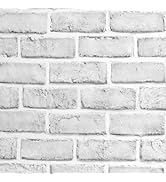
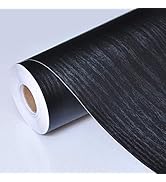
I bought this to use as a backsplash in the kitchen. Installed by myself - in hindsight, easier for 2 people. A couple of notes for DIYers - make sure your wall is clean and dry; make sure it's smooth, because with glossy wallpaper you will see every bump; align it properly and slowly peel back small section and keep attaching it to the wall; If you peel the backing off too much, it will roll and get stuck to itself or to the backing paper. If it's sticks to itself, slowly peel it apart; if it's stuck to the backing paper, it will no longer be adhesive, so you will waste a piece. Always buy more than you need, according to your measurements. The adhesive of the paper is really strong - once it sticks to the wall, it will stay. Also, the wallpaper is thick, adhesive side is silver. I recommend aligning the top and attaching the paper, then smoothing it over from top to bottom to avoid bubbles. Use a utility knife to cut extra off if needed - it's easy. I had a wall outlet - I stuck wallpaper over it, then carefully cut an opening for it. If you have bubbles, carefully peel off a corner, past the bubbles and re-attach, keeping the paper taught. Puncturing bubbles with pin did not work for me. So far I am happy with the results; I will post update it any challenges arise. It is pretty good value for the money, considering alternatives for backsplashes. My cat helped me model the wallpaper after its application. You can really see reflections - that's how glossy it is.
Trustpilot
3 weeks ago
5 days ago