Description
🛠️ Seal the deal on comfort and savings—foam like a pro with Foam It 602!
- BUILT IN SAFETY - Class I fire-retardant foam meets strict building codes for peace of mind.
- ECO CONSCIOUS CHOICE - Light green foam formula reduces waste and includes anti-mold protection.
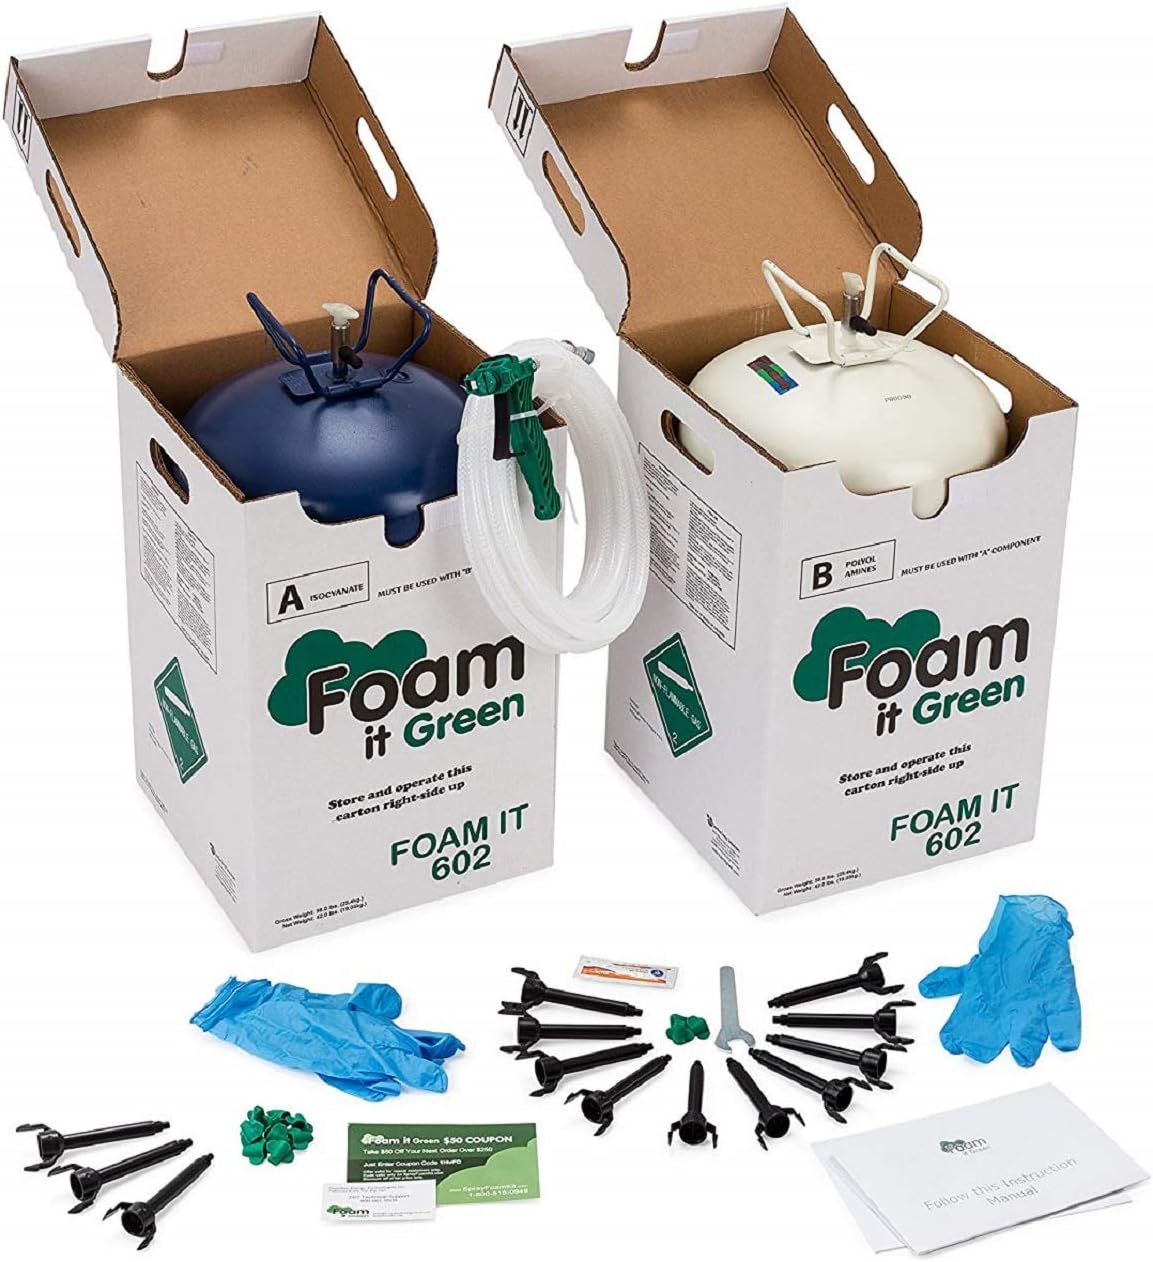
- PRO COVERAGE ONE KIT - Covers approximately 602 sq ft at 1 inch thickness—ideal for large projects.
- MAXIMIZE ENERGY SAVINGS - Seals air leaks with high R-value closed cell foam for superior insulation.
- SUPPORT WHEN YOU NEED IT - 24/7 expert customer service and detailed video guides ensure pro results.
Foam It 602 is a professional-grade polyurethane spray foam insulation kit delivering up to 602 sq ft of 1-inch thick, closed cell, fire-retardant foam. Designed for quick air sealing and superior energy efficiency, it features a light green, anti-mold formula that minimizes waste. The kit includes everything needed for a seamless application, backed by 24/7 customer support and comprehensive instructions, making it a top choice for millennial managers aiming to upgrade their spaces with sustainable, code-compliant insulation.